Beekeeping is a rewarding and sustainable hobby that contributes to environmental health and provides a source of honey and beeswax. Building your own beehive is an essential step in starting a beekeeping venture. This comprehensive guide will walk you through everything you need to know about building a beehive, from understanding bee biology to constructing various hive components and maintaining the hive. With detailed instructions, tips, and best practices, this guide aims to make the process accessible even for beginners.
Understanding Bee Biology and Beehive Dynamics
The Importance of Bees
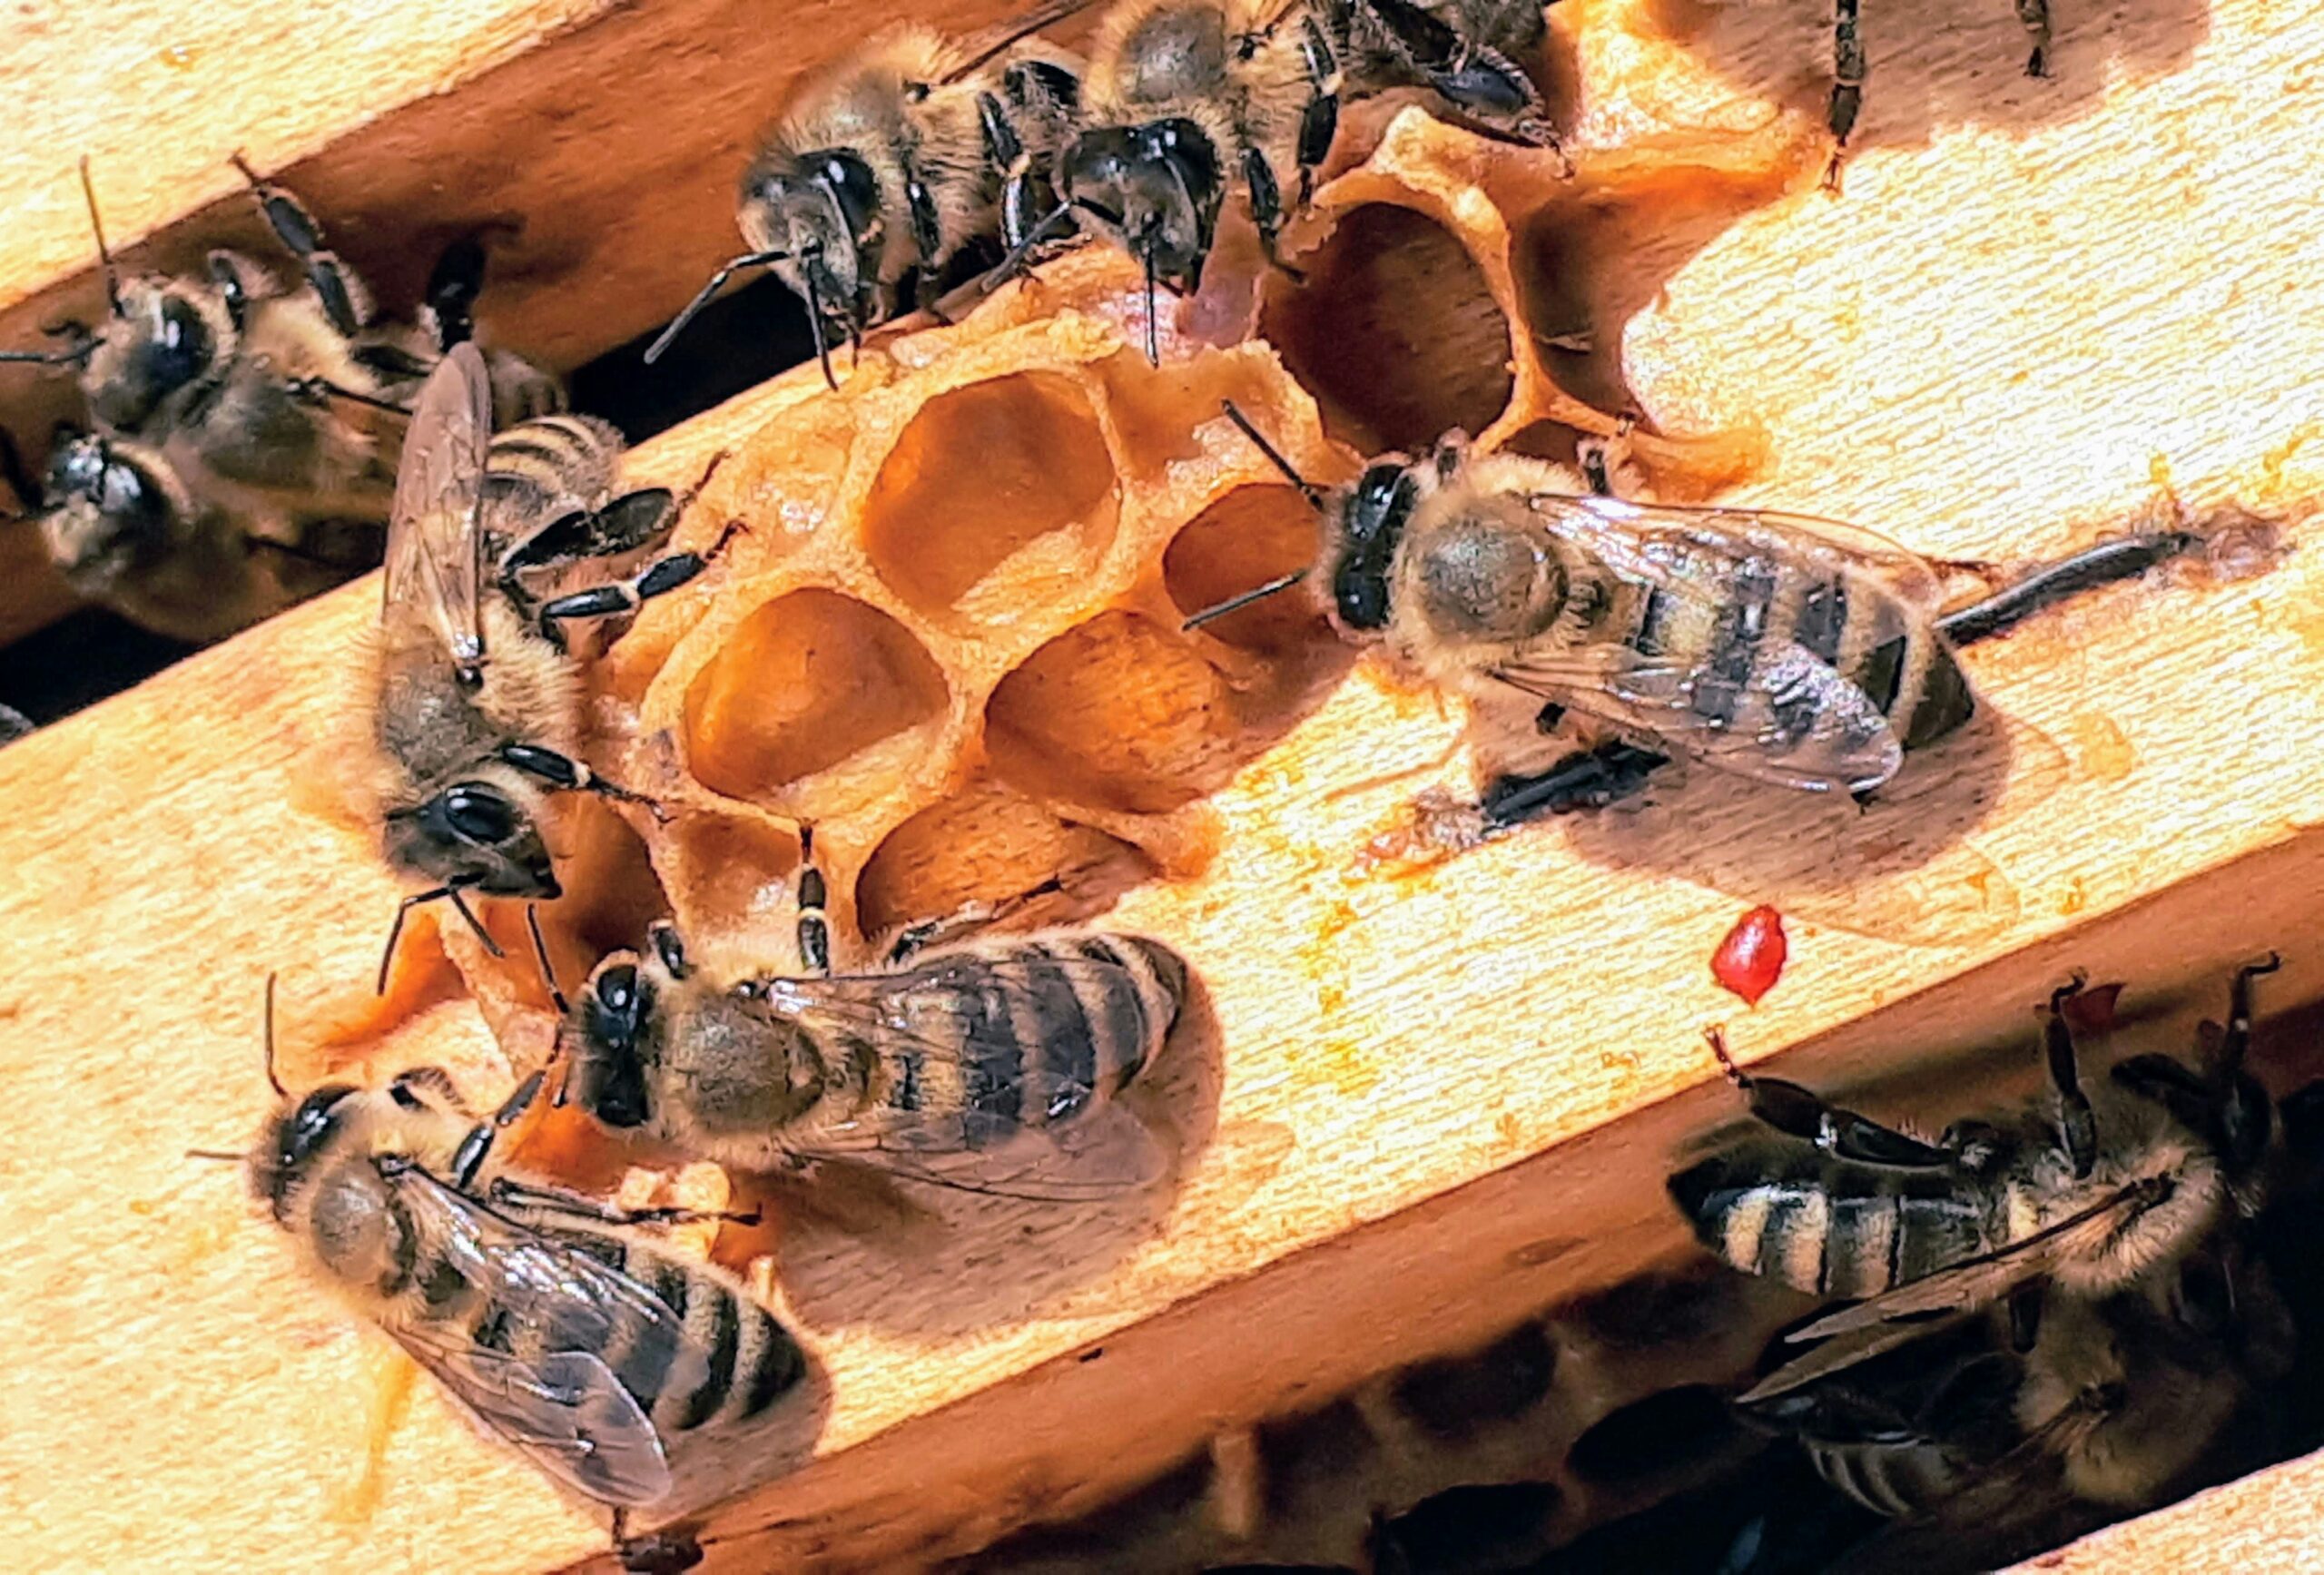
Bees play a crucial role in pollinating flowers, fruits, and vegetables, contributing significantly to biodiversity and food production. A beehive provides a controlled environment where bees can thrive and produce honey and other products beneficial to humans.
Structure of a Bee Colony
A typical bee colony comprises three types of bees:
- Queen Bee: The sole reproductive female responsible for laying eggs.
- Worker Bees: Non-reproductive females that perform various tasks such as foraging, nursing, and maintaining the hive.
- Drone Bees: Males whose primary role is to mate with the queen.
Anatomy of a Beehive
A beehive consists of several parts that provide a conducive environment for bees:
- Brood Box: The main living area where the queen lays eggs and brood (eggs, larvae, and pupae) develop.
- Honey Supers: Boxes added above the brood box where bees store surplus honey.
- Frames: Removable structures within the boxes that hold the honeycomb.
- Bottom Board: The base of the hive that provides an entrance for the bees.
- Inner Cover: A cover placed over the topmost box to provide insulation and ventilation.
- Outer Cover: The protective top layer that shields the hive from the elements.
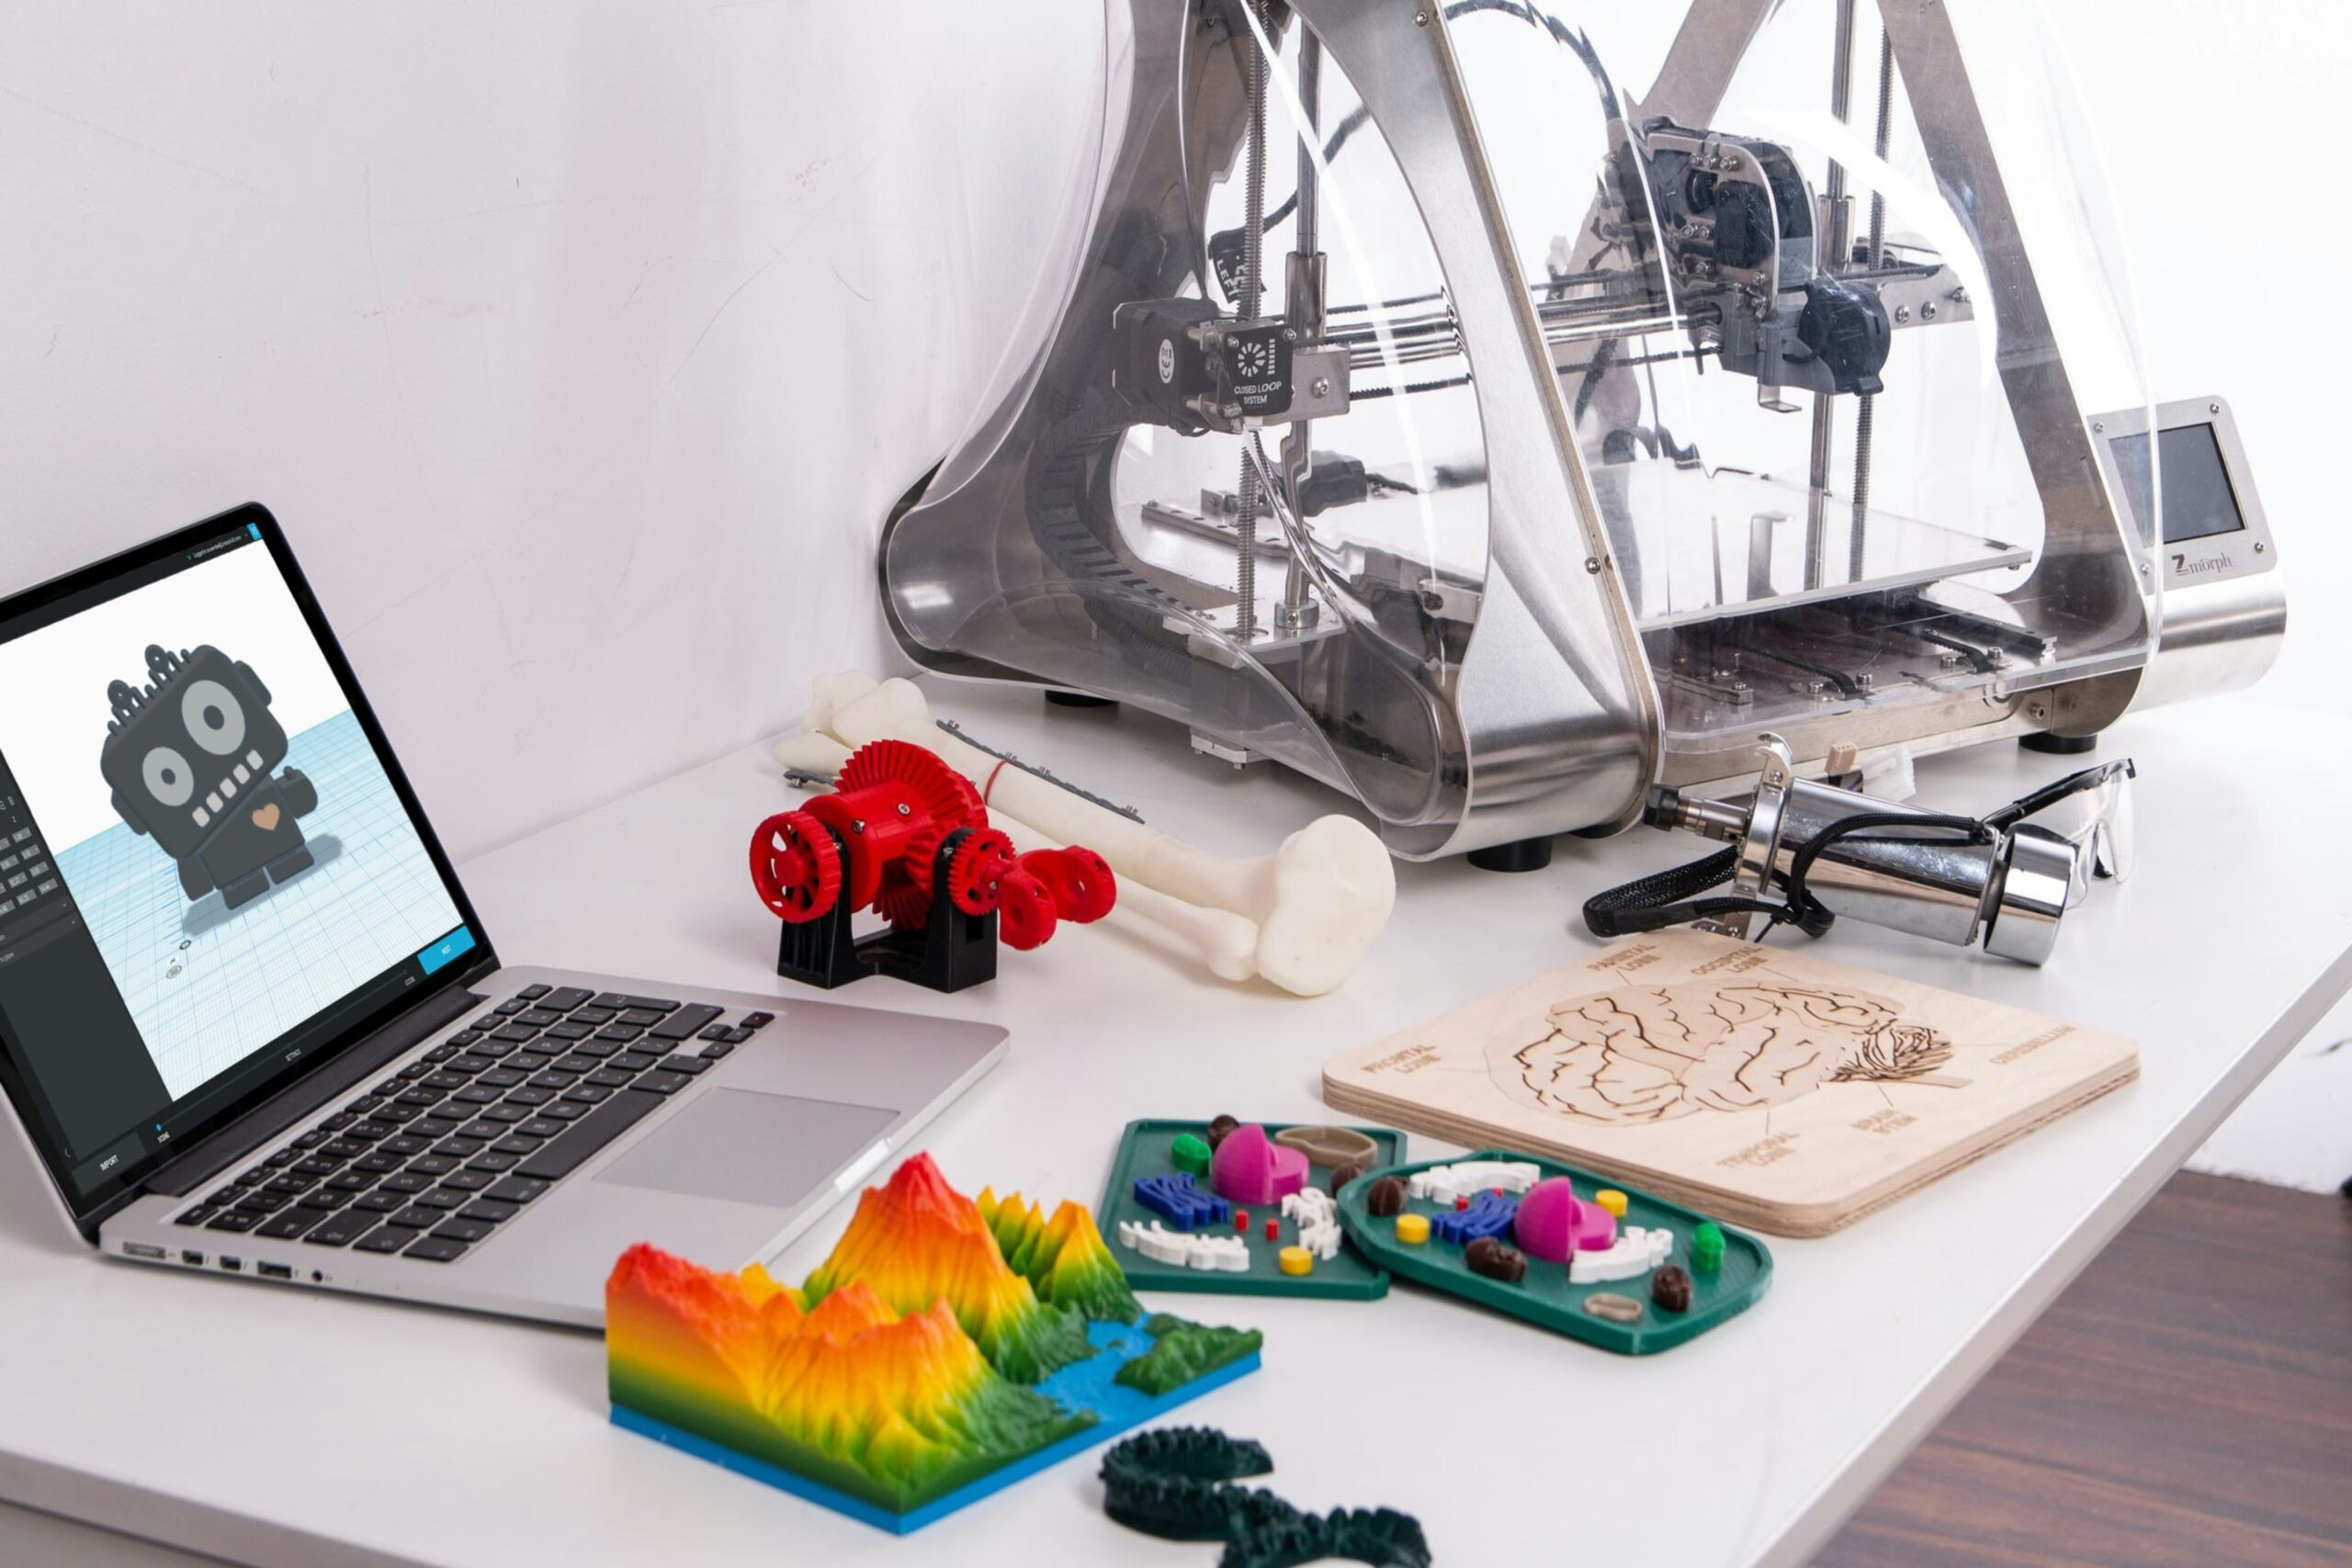
Tools and Materials Needed
Before starting the construction of a beehive, gather the necessary tools and materials:
Tools
- Hammer or nail gun
- Hand saw or circular saw
- Drill and drill bits
- Wood glue
- Measuring tape
- Carpenter’s square
- Clamps
- Sandpaper or sander
- Paintbrush
Materials
- Lumber (pine or cedar is commonly used)
- Nails or screws
- Wire mesh (for ventilation)
- Beekeeping foundation sheets
- Exterior paint or wood preservative (non-toxic)
- Metal sheet (for outer cover)
Choosing the Right Type of Beehive
Several types of beehives are available, each with its advantages and disadvantages. The most common types are the Langstroth hive, the Top Bar hive, and the Warre hive.
Langstroth Hive
The Langstroth hive is the most widely used beehive design, known for its modularity and ease of management. It consists of vertically stacked boxes, each containing frames.
Top Bar Hive
The Top Bar hive is a horizontal hive that allows bees to build natural comb. It is simple to construct and maintain, making it a popular choice for small-scale and hobbyist beekeepers.
Warre Hive
The Warre hive is a vertical top-bar hive designed to mimic a bee’s natural environment. It requires less intervention and is well-suited for beekeepers who prefer a more hands-off approach.
Step-by-Step Guide to Building a Langstroth Beehive
Building the Brood Box
- Cutting the Lumber:
- Cut the lumber to the dimensions of the brood box (typically 19 7/8″ x 16 1/4″ x 9 5/8″).
- You’ll need two longer side pieces and two shorter end pieces.
- Assembling the Box:
- Apply wood glue to the edges of the shorter pieces.
- Attach the shorter pieces to the longer side pieces using nails or screws.
- Ensure the corners are square using a carpenter’s square.
- Clamp the box until the glue dries.
- Adding Frame Rests:
- Attach thin strips of wood inside the box along the top edge to hold the frames.
- Sanding and Finishing:
- Sand the box to remove any rough edges.
- Apply a coat of exterior paint or wood preservative to protect the wood.
Building the Honey Supers
- Cutting the Lumber:
- Similar to the brood box, cut the lumber for the honey supers (dimensions are usually 19 7/8″ x 16 1/4″ x 6 5/8″).
- Assembling the Boxes:
- Follow the same steps as for the brood box to assemble the honey supers.
- Adding Frame Rests:
- Attach frame rests as done for the brood box.
- Sanding and Finishing:
- Sand the boxes and apply a protective finish.
Constructing the Frames
- Cutting the Frame Pieces:
- Cut the top bars, bottom bars, and side pieces for the frames.
- Assembling the Frames:
- Assemble the frame pieces using wood glue and nails.
- Ensure the frames fit snugly into the brood box and honey supers.
- Attaching Foundation Sheets:
- Attach beekeeping foundation sheets to the frames using wire or wax.
Building the Bottom Board
- Cutting the Lumber:
- Cut a piece of lumber to the dimensions of the bottom board (typically 22″ x 16 1/4″).
- Assembling the Bottom Board:
- Attach a smaller piece of lumber to the front to create an entrance for the bees.
- Attach wire mesh to the bottom for ventilation.
- Sanding and Finishing:
- Sand the bottom board and apply a protective finish.
Constructing the Inner Cover
- Cutting the Lumber:
- Cut a piece of plywood to the dimensions of the inner cover (usually 20″ x 16 1/4″).
- Adding Ventilation:
- Cut a small hole in the center for ventilation and cover it with wire mesh.
- Sanding and Finishing:
- Sand the inner cover and apply a protective finish.
Building the Outer Cover
- Cutting the Lumber:
- Cut pieces of lumber for the outer cover frame (typically 22″ x 20″).
- Assembling the Cover:
- Assemble the frame and attach a piece of plywood on top.
- Cover the plywood with a metal sheet for weather protection.
- Sanding and Finishing:
- Sand the outer cover and apply a protective finish.
Building a Top Bar Hive
Constructing the Hive Body
- Cutting the Lumber:
- Cut lumber to the dimensions of the hive body (typically 36″ long, 16″ wide at the top, and 10″ wide at the bottom).
- Assembling the Body:
- Assemble the trapezoidal shape of the hive body using wood glue and nails.
- Attach legs to the bottom for stability.
- Adding Top Bars:
- Cut top bars to fit across the top of the hive body (typically 1 1/4″ wide).
- Place the top bars evenly spaced across the top.
- Sanding and Finishing:
- Sand the hive body and apply a protective finish.
Constructing the Hive Roof
- Cutting the Lumber:
- Cut pieces for the roof frame and the roof panels (typically 40″ long and 18″ wide).
- Assembling the Roof:
- Assemble the roof frame and attach the roof panels.
- Add a handle on top for easy removal.
- Sanding and Finishing:
- Sand the roof and apply a protective finish.
Building a Warre Hive
Constructing the Hive Boxes
- Cutting the Lumber:
- Cut lumber to the dimensions of the Warre hive boxes (typically 12″ x 12″ x 9″).
- Assembling the Boxes:
- Assemble the boxes using wood glue and nails.
- Ensure the corners are square.
- Adding Top Bars:
- Cut top bars to fit across the top of the boxes (typically 12″ long).
- Place the top bars evenly spaced across the top.
- Sanding and Finishing:
- Sand the boxes and apply a protective finish.
Building the Bottom Board and Roof
- Cutting the Lumber:
- Cut pieces for the bottom board (12″ x 12″) and roof (14″ x 14″).
- Assembling the Bottom Board and Roof:
- Assemble the bottom board and attach a small entrance piece.
- Assemble the roof and cover with a metal sheet for weather protection.
- Sanding and Finishing:
- Sand the bottom board and roof and apply a protective finish.
Hive Placement and Setup
Choosing the Right Location
- Sunlight and Shade:
- Place the hive where it will receive morning sunlight but avoid the hottest part of the day.
- Ensure the hive has some shade in the afternoon.
- Protection from Wind:
- Place the hive in a sheltered location to protect it from strong winds.
- Accessibility:
- Ensure the hive is easily accessible for maintenance and honey harvesting.
Preparing the Site
- Level the Ground:
- Clear and level the ground where the hive will be placed.
- Positioning the Hive:
- Position the hive with the entrance facing southeast for optimal sun exposure and wind protection.
Installing the Bees
Acquiring Bees
- Choosing the Type of Bees:
- Choose a bee species suited to your climate and beekeeping goals (e.g., Italian, Carniolan, or Russian bees).
- Purchasing Bees:
- Purchase bees from a reputable supplier. Bees can be bought as packages, nucs, or established colonies.
Installing Package Bees
- Preparing the Hive:
- Set up the hive with frames or top bars in place.
- Installing the Bees:
- Spray the bees lightly with sugar water to calm them.
- Remove the queen cage from the package and place it in the hive.
- Gently shake the bees into the hive.
- Close the hive and allow the bees to settle.
Installing Nuc Bees
- Preparing the Hive:
- Set up the hive with frames or top bars in place.
- Installing the Bees:
- Place the nuc frames into the hive, ensuring they are in the same order as in the nuc box.
- Close the hive and allow the bees to settle.
Beehive Maintenance and Management
Regular Inspections
- Frequency of Inspections:
- Inspect the hive every 7-10 days during the active season.
- What to Look For:
- Check for signs of disease, pests, and queen activity.
- Ensure the bees have enough space and resources.
Feeding the Bees
- When to Feed:
- Feed the bees during times of scarcity, such as early spring or late fall.
- Types of Feed:
- Provide sugar syrup (1:1 ratio of sugar to water) or pollen patties.
Pest and Disease Management
- Common Pests:
- Monitor for Varroa mites, small hive beetles, and wax moths.
- Disease Prevention:
- Maintain good hygiene and perform regular inspections to detect and address issues early.
Harvesting Honey
When to Harvest
- Timing:
- Harvest honey in late summer or early fall when the bees have capped the honeycomb.
- Signs of Readiness:
- Look for white wax cappings over the honey cells.
Harvesting Methods
- Using a Bee Escape:
- Place a bee escape between the brood box and the honey super to encourage bees to leave the super.
- Removing Frames:
- Remove the honey frames and brush off any remaining bees.
- Extracting Honey:
- Use a honey extractor to spin out the honey or cut and crush the comb.
Winterizing the Beehive
Preparing for Winter
- Reducing Hive Size:
- Remove excess honey supers to reduce the hive size.
- Insulating the Hive:
- Add insulation to the hive to protect against cold temperatures.
- Providing Ventilation:
- Ensure the hive has adequate ventilation to prevent moisture buildup.
What are the basic components of a beehive? The basic components include the brood box, honey supers, frames, bottom board, inner cover, and outer cover.
What type of wood is best for building a beehive? Pine and cedar are commonly used due to their durability and resistance to the elements.
Why is it important to check the care label before cleaning a baseball hat? The care label provides specific instructions that help prevent damage during cleaning.
What tools are essential for constructing a beehive? Essential tools include a hammer or nail gun, hand saw or circular saw, drill, wood glue, measuring tape, carpenter’s square, clamps, and sandpaper.
How can I maintain the shape of my baseball hat during cleaning? Use a hat form or a rolled-up towel inside the hat while drying to help maintain its shape.
Can all types of bees be housed in the same beehive design? Most common hive designs like Langstroth, Top Bar, and Warre can house various bee species, but adjustments may be needed based on the bee’s needs.
What is the purpose of the brood box in a beehive? The brood box is where the queen lays eggs and brood develops, forming the core of the colony.
Why is hand washing generally safer for baseball hats? Hand washing is gentler and reduces the risk of damage compared to machine washing.
What are the advantages of a Langstroth hive? Langstroth hives are modular, easy to manage, and provide high honey yield due to their vertical stacking design.
How do I remove stubborn stains from a baseball hat? Apply a suitable stain remover, let it sit, then gently scrub and rinse the area.
What are honey supers used for in a beehive? Honey supers are additional boxes placed above the brood box where bees store surplus honey.
Why should bleach be avoided when cleaning baseball hats? Bleach can damage the fabric and cause discoloration. Mild detergents are safer alternatives.
How often should beehive inspections be conducted? Inspections should be done every 7-10 days during the active season to monitor hive health and activity.
What is the best way to dry a baseball hat after washing? Blot with a towel and air dry in its natural shape, avoiding direct sunlight and heat sources.
How can I clean the frames of a beehive? Scrape off wax and propolis buildup, then wash with warm soapy water and rinse thoroughly.
What is the importance of a bottom board in a beehive? The bottom board provides a base for the hive and serves as an entrance for the bees.
Can I use a washing machine for polyester baseball hats? Yes, but use a gentle cycle with cold water and place the hat in a laundry bag for protection.
How do I harvest honey from a beehive? Use a bee escape to remove bees from the super, then extract honey from the frames using a honey extractor.
What should I do if my baseball hat has a cardboard brim? Spot clean only, as soaking can damage the cardboard.
How do I install package bees into a new beehive? Spray bees with sugar water, remove the queen cage, gently shake bees into the hive, and close it to let the bees settle.
What is the role of the inner cover in a beehive? The inner cover provides insulation and ventilation, helping regulate the hive’s internal environment.
Can I use baking soda to deodorize my baseball hat? Yes, sprinkle baking soda inside, let it sit overnight, then brush it off.
How do I ensure proper ventilation in a beehive? Install ventilation holes in the inner cover and ensure the hive entrance is clear.
What is a queen excluder and when should I use it? A queen excluder prevents the queen from entering the honey supers, ensuring that only worker bees can store honey there.
How do I clean a leather baseball hat? Use a leather cleaner or mild soap solution, gently wipe with a damp cloth, and avoid soaking.
What are the benefits of a Top Bar hive? Top Bar hives allow for natural comb building and are easier to inspect without heavy lifting.
Why is it important to level the ground before placing a beehive? A level ground ensures stability and proper functioning of the hive components.
Can I iron a baseball hat to remove wrinkles? It’s not recommended, as the heat can damage the fabric and structure.
How do I prepare for winterizing a beehive? Reduce hive size, add insulation, and ensure adequate ventilation to protect against cold and moisture.
What are common pests that affect beehives? Common pests include Varroa mites, small hive beetles, and wax moths.
How do I clean a hat with a plastic brim? Hand wash and avoid high temperatures that can warp the plastic. Air dry away from direct heat.
What should I look for during a beehive inspection? Check for signs of disease, pests, queen activity, and ensure bees have enough space and resources.
How do I build the outer cover for a beehive? Assemble a frame, attach a plywood top, and cover with a metal sheet for weather protection.
Why should fabric softener be avoided on baseball hats? Fabric softeners can leave residues that affect fabric breathability and appearance.
What is the purpose of the queen in a bee colony? The queen is the sole reproductive female responsible for laying eggs and maintaining colony population.
How can I restore the color of a faded baseball hat? Use fabric dye suitable for the hat’s material, following the manufacturer’s instructions carefully.
How do I build the brood box for a beehive? Cut and assemble lumber to the appropriate dimensions, add frame rests, sand, and apply a protective finish.
What are the signs that a beehive is ready for honey harvesting? Honey is ready to harvest when the bees have capped the honeycomb with white wax.
How do I prevent sweat stains on my baseball hat? Wear a sweatband or hat liner to absorb sweat and reduce staining.
What are the benefits of a Warre hive? Warre hives mimic natural bee environments, require less intervention, and are well-suited for beekeepers who prefer a hands-off approach.
How do I clean a suede baseball hat? Use a suede brush or cloth to gently remove dirt and stains. Avoid water, as it can damage suede.
What is the role of drone bees in a colony? Drones are male bees whose primary role is to mate with the queen.
How do I maintain a beehive during the winter? Insulate the hive, reduce entrance size, ensure food stores are adequate, and provide ventilation to prevent moisture buildup.
How can I safely clean a vintage baseball hat? Hand wash with cold water and mild detergent, avoid soaking, and spot clean delicate areas.
What should I do if my hat shrinks after washing? Try stretching it back to size while it’s damp, and wear it until it dries to help it conform to your head shape.
How do I protect my beehive from strong winds? Place the hive in a sheltered location or use windbreaks to protect it from strong winds.
What are the main tasks of worker bees in a hive? Worker bees forage for food, nurse the brood, maintain the hive, and defend it from threats.
How do I store baseball hats to maintain their shape? Store hats on a hat rack or hooks to maintain their shape and keep them off the ground.
What are beekeeping foundation sheets used for? Foundation sheets provide a base for bees to build their comb, ensuring uniformity and stability within the frames.
Conclusion
Building and maintaining a beehive requires careful planning, attention to detail, and a commitment to regular upkeep. By following this comprehensive guide, you can create a safe and productive environment for your bees, contributing to the health of your local ecosystem and enjoying the rewards of beekeeping. Whether you’re a novice or an experienced beekeeper, the information provided here will help you succeed in your beekeeping endeavors.