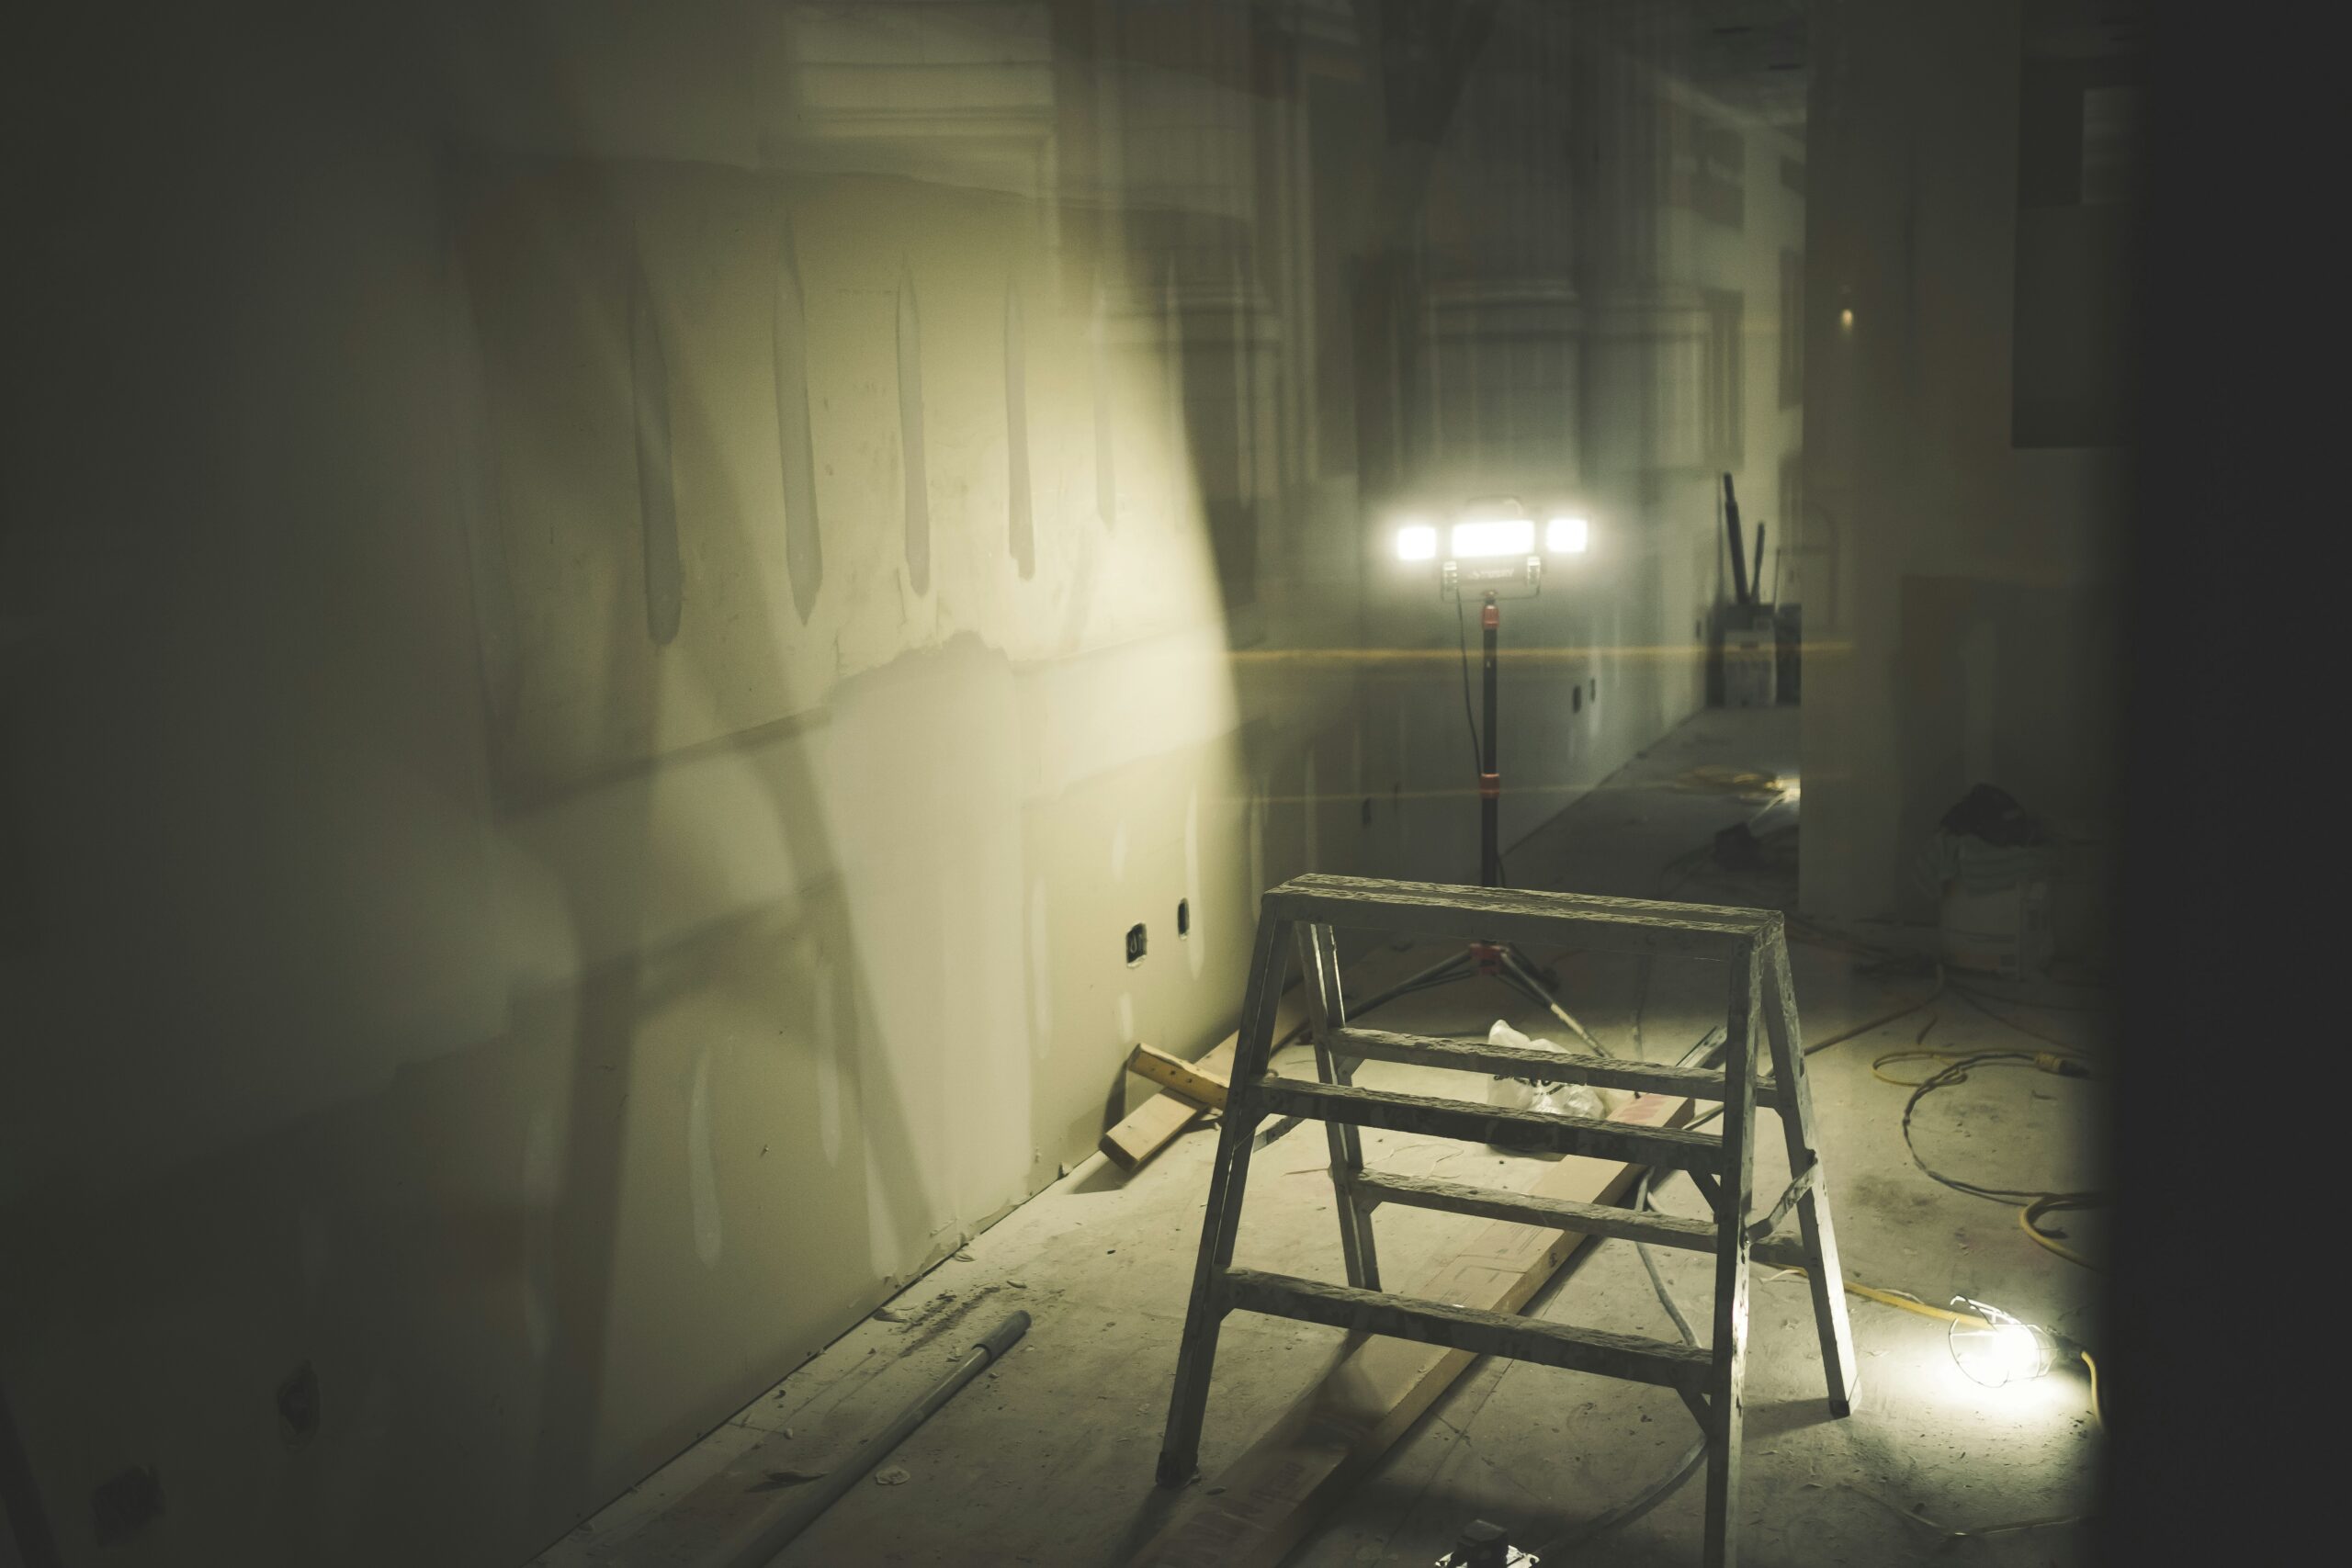
Patching drywall is a fundamental skill for maintaining and repairing interior walls. Whether you’re dealing with a small hole from a misplaced picture frame hook or larger damage from accidents, the process of patching drywall follows a systematic approach. Here’s a comprehensive guide to help you navigate through the steps and nuances of patching drywall effectively:
Introduction to Drywall Patching
Drywall, also known as gypsum board or plasterboard, is a common building material used for interior walls and ceilings. It consists of gypsum sandwiched between layers of paper and is relatively easy to work with for both installation and repairs. Patching drywall involves filling holes, cracks, or other damage to restore a smooth surface, ready for painting or finishing.
Tools and Materials
Before starting, gather the necessary tools and materials:
- Tools:
- Utility knife
- Drywall saw or keyhole saw
- Putty knife
- Sandpaper (medium and fine grit)
- T-square or straight edge
- Screwdriver or drill (if removing screws)
- Paintbrush or roller (for painting)
- Dust mask and safety glasses
- Materials:
- Drywall compound (joint compound)
- Drywall tape (paper or fiberglass mesh)
- Drywall screws or nails
- Primer
- Paint
Step-by-Step Guide to Patching Drywall
1. Prepare the Area:
- Safety first: Wear a dust mask and safety glasses to protect yourself from dust and debris.
- Clear the area: Remove any loose drywall or debris around the damaged area using a utility knife.
- Inspect for stability: Ensure the surrounding drywall is stable and not damaged.
2. Patch Small Holes:
- For holes up to 1-2 inches:
- Cut away any loose edges with a utility knife.
- Apply a small amount of drywall compound to the hole with a putty knife.
- Smooth the surface with the knife, feathering the edges.
- Let it dry completely, then sand lightly and apply another coat if needed.
3. Patch Larger Holes:
- For holes larger than 2 inches:
- Cut a piece of drywall slightly larger than the hole.
- Trace around the patch on the wall and cut out the damaged area using a drywall saw.
- Insert the patch and secure it with screws or nails through the surrounding drywall.
- Apply drywall tape around the seams.
- Apply layers of joint compound, feathering each layer beyond the previous one.
- Sand between coats until smooth.
4. Finish and Sand:
- Once the patch is dry and smooth, sand the area lightly with fine-grit sandpaper to blend it with the surrounding wall.
5. Prime and Paint:
- Apply a primer to the patched area to ensure even paint absorption.
- Paint the patched area to match the rest of the wall, blending the edges for a seamless finish.
Tips for Success
- Work in layers: Apply thin layers of joint compound, allowing each layer to dry completely before applying the next.
- Feather the edges: Gradually spread the joint compound beyond the repair area to blend it smoothly into the wall.
- Use the right tools: Quality tools make a significant difference in achieving a professional-looking repair.
- Practice patience: Rushing the drying process or skipping steps can result in a subpar repair.
Conclusion
Patching drywall is a skill that improves with practice. By following these steps and tips, you can effectively repair holes and damage in drywall, restoring the integrity and appearance of your walls. Remember to take your time, work meticulously, and soon you’ll be proficient at patching drywall like a pro.


