Concrete is a durable and widely used construction material, known for its strength and longevity. However, over time, even the most robust concrete structures can develop cracks. These cracks can be caused by a variety of factors, including temperature fluctuations, moisture, structural loads, and shrinkage. Addressing cracks in concrete is essential to maintain the structural integrity, aesthetic appeal, and longevity of the concrete surface. This comprehensive guide provides an in-depth look at how to repair cracks in concrete, covering everything from understanding the causes of cracks to choosing the right materials and techniques for effective repair.
Understanding Concrete Cracks
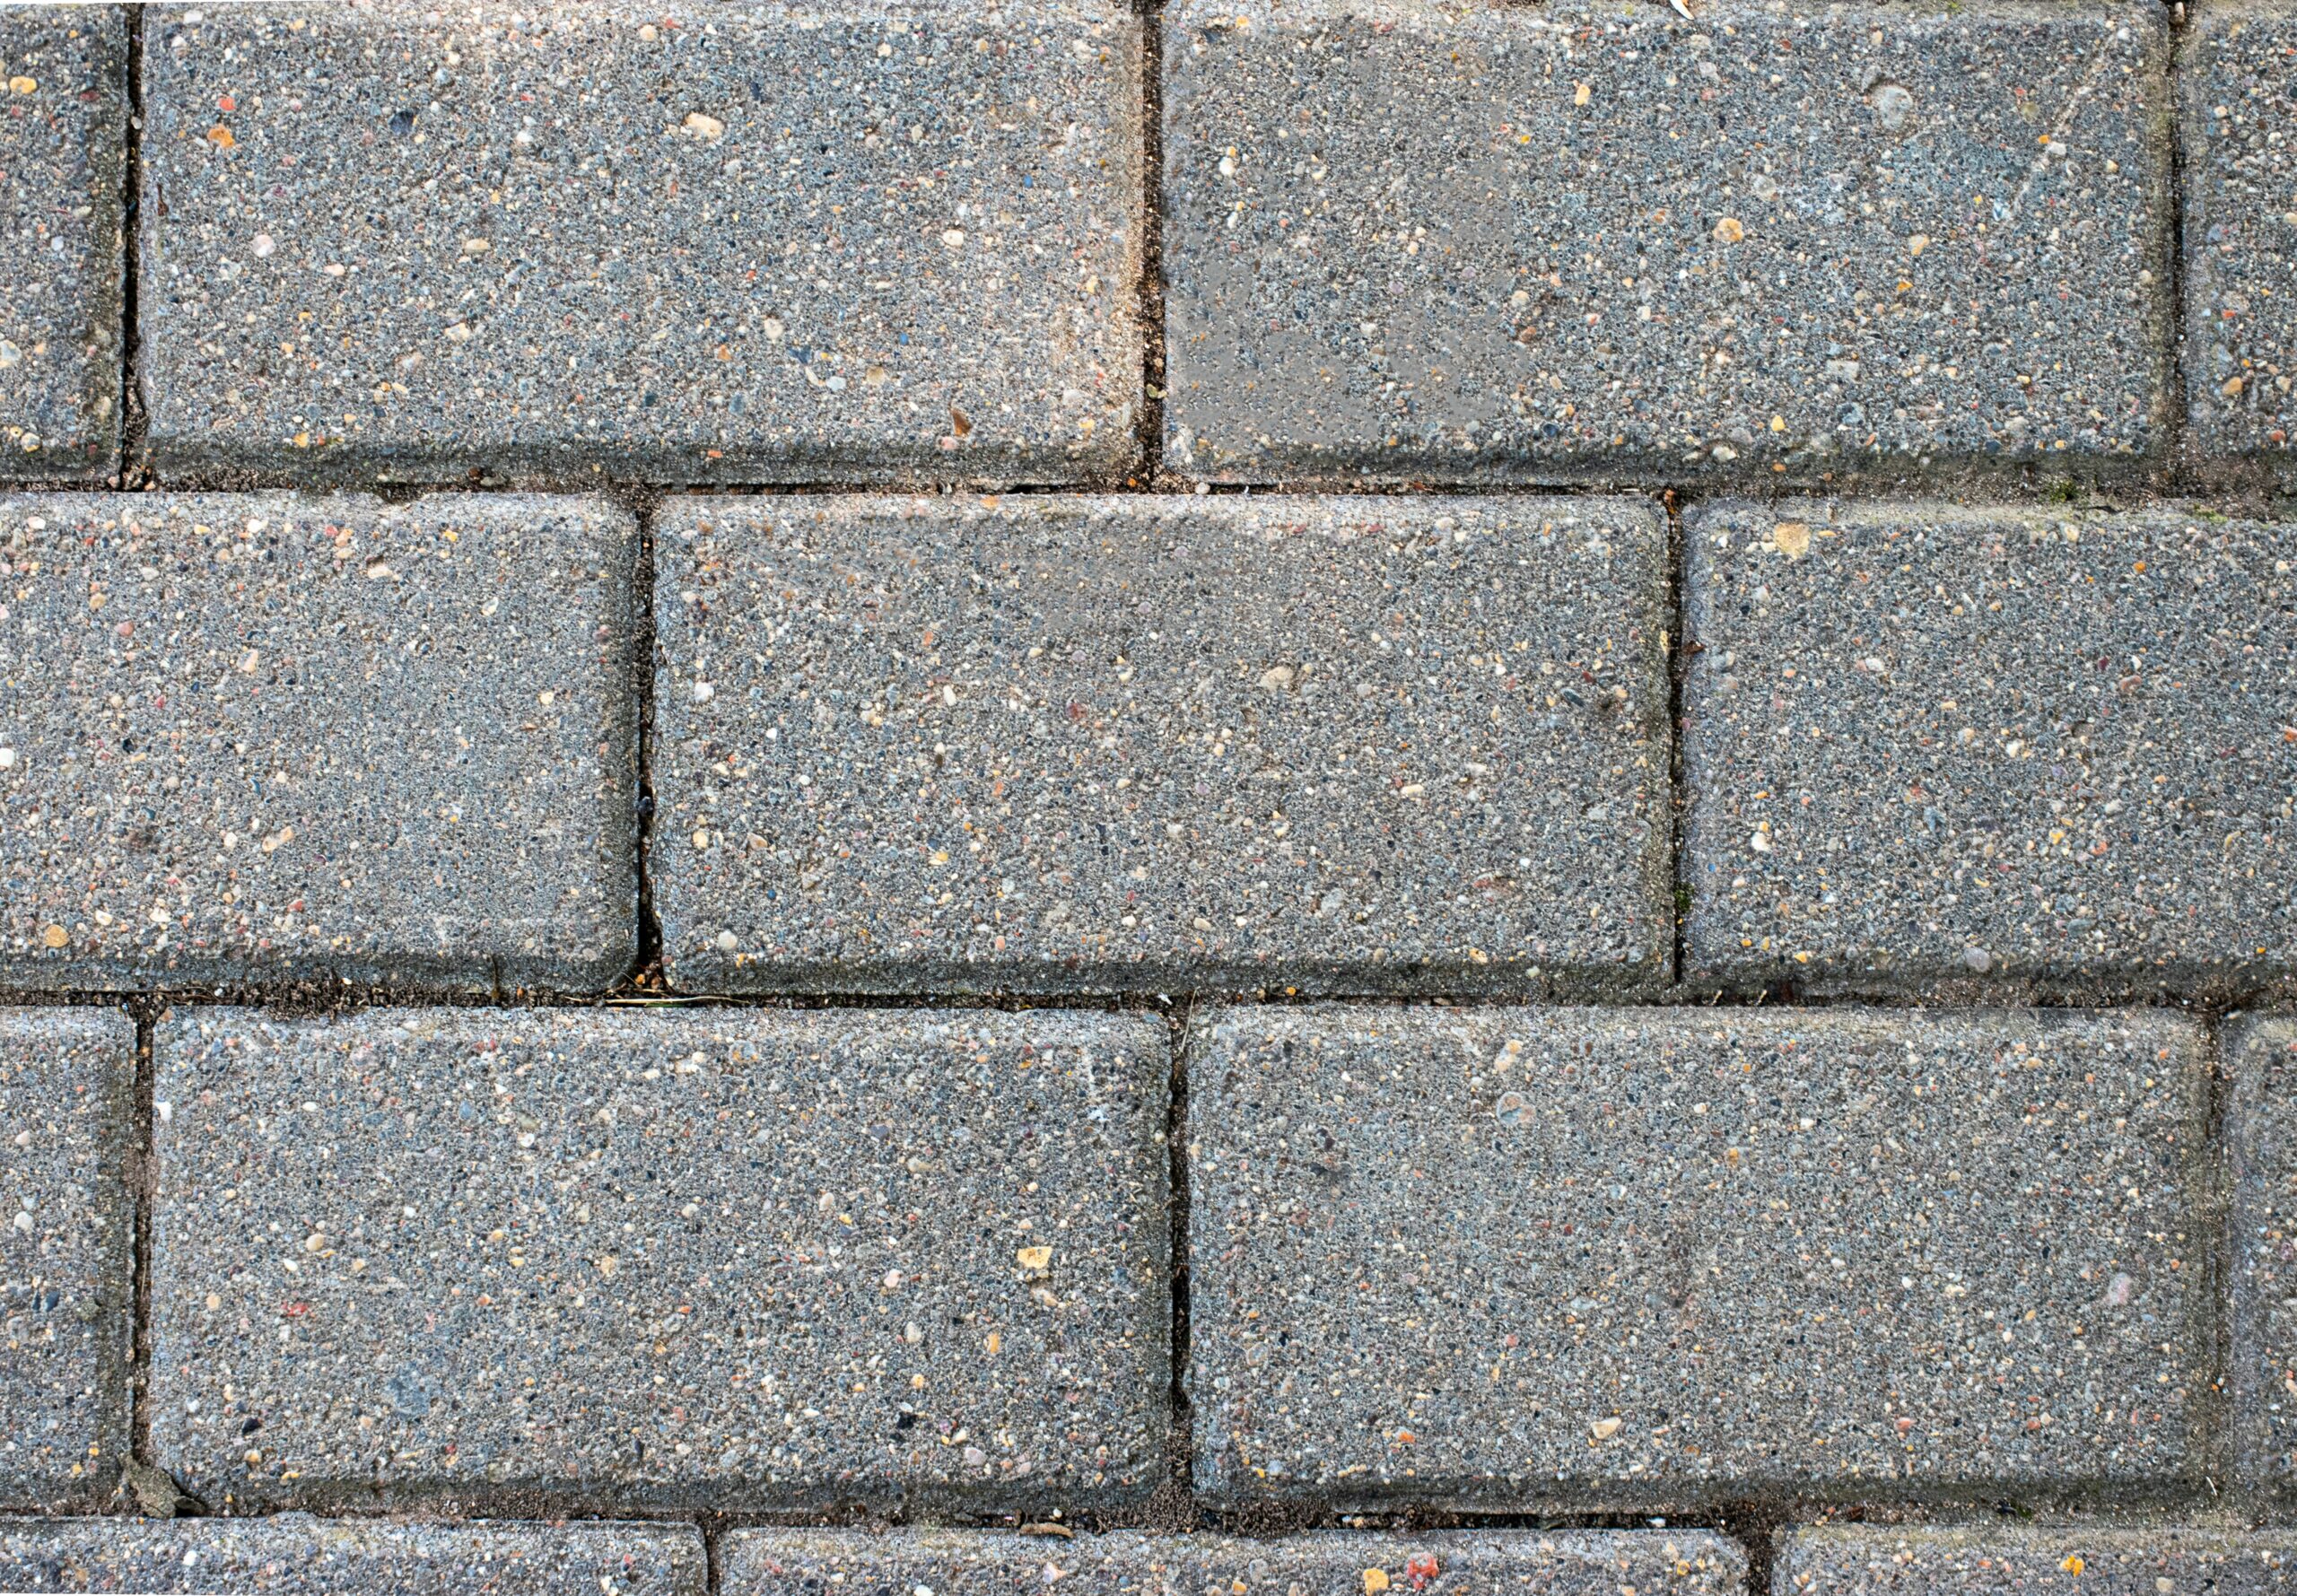
Concrete cracks can be categorized into several types, each with different causes and implications. Understanding the nature of the cracks is the first step in determining the appropriate repair method.
Types of Concrete Cracks
- Hairline Cracks: These are very thin cracks, often less than 1/8 inch wide. They are usually caused by shrinkage as the concrete cures and are generally cosmetic rather than structural.
- Plastic Shrinkage Cracks: These occur when the concrete is still in its plastic state (before it has hardened). They are typically caused by rapid moisture loss from the surface, leading to the formation of cracks.
- Settlement Cracks: These cracks form when the ground beneath the concrete settles unevenly. They can indicate potential structural issues if not addressed properly.
- Structural Cracks: These are more severe cracks that affect the structural integrity of the concrete. They can be caused by heavy loads, seismic activity, or other significant stresses.
- Thermal Cracks: These occur due to temperature changes that cause the concrete to expand and contract. Thermal cracks can develop over time and may need to be addressed to prevent further damage.
- Diagonal Cracks: Often found in walls and slabs, diagonal cracks can indicate significant structural problems, such as foundation movement or excessive loading.
Causes of Concrete Cracks
Understanding the causes of concrete cracks is crucial for selecting the appropriate repair method and preventing future occurrences.
Common Causes
- Shrinkage: As concrete dries and hardens, it shrinks. If the shrinkage is restrained, it can lead to cracking. Proper curing techniques can minimize shrinkage cracks.
- Thermal Expansion and Contraction: Temperature changes cause concrete to expand and contract. If the concrete cannot move freely, it can crack.
- Settlement: Uneven settling of the ground beneath the concrete can cause the concrete to crack. This is often seen in driveways, sidewalks, and foundations.
- Overloading: Applying loads that exceed the concrete’s capacity can cause it to crack. This is common in structural elements such as beams, columns, and slabs.
- Corrosion of Reinforcement: In reinforced concrete, the corrosion of steel reinforcement can cause cracking. This is often due to the ingress of chlorides and moisture.
- Improper Concrete Mix: Using an incorrect mix design or poor quality materials can lead to weak concrete that is prone to cracking.
- Poor Construction Practices: Inadequate compaction, improper placement, and lack of curing can all contribute to the formation of cracks.
Assessing the Severity of Concrete Cracks
Before proceeding with repairs, it’s important to assess the severity of the cracks. This helps determine the appropriate repair method and materials.
Visual Inspection
Perform a thorough visual inspection of the cracked area. Note the length, width, and pattern of the cracks. Pay attention to any signs of movement or displacement, as well as any other indications of structural issues.
Measuring Crack Width and Depth
Use a crack gauge or a caliper to measure the width of the cracks. For deeper cracks, a depth gauge or a similar tool can help determine the extent of the damage.
Evaluating Structural Integrity
For structural cracks, it’s essential to evaluate the overall integrity of the structure. This may involve consulting with a structural engineer to assess the load-bearing capacity and stability of the affected area.
Monitoring Crack Movement
In some cases, it may be necessary to monitor crack movement over time. This can help determine if the cracks are active (continuing to grow) or dormant (stable). Crack monitors or tell-tales can be used for this purpose.
Preparing for Concrete Crack Repair
Proper preparation is key to successful concrete crack repair. This involves cleaning the crack, selecting the right materials, and ensuring a suitable working environment.
Cleaning the Crack
- Remove Debris: Use a wire brush, chisel, or other tools to remove loose debris, dirt, and old repair materials from the crack.
- Flush with Water: For deeper cracks, flush the area with water to remove any remaining dust and debris. Allow the crack to dry before proceeding with the repair.
- Use a Cleaner: If necessary, use a concrete cleaner to remove stains, grease, or other contaminants that could interfere with the repair material’s adhesion.
Selecting Repair Materials
The choice of repair material depends on the type and severity of the crack, as well as the environmental conditions. Common materials include:
- Epoxy Resins: Ideal for structural repairs, epoxy resins provide strong bonding and can restore the concrete’s load-bearing capacity.
- Polyurethane Foams: These are suitable for non-structural cracks and provide excellent flexibility and waterproofing properties.
- Cement-Based Products: Suitable for filling larger cracks and resurfacing damaged areas, cement-based products are easy to use and provide good durability.
- Acrylic Sealants: These are ideal for sealing hairline cracks and providing a smooth finish. They are flexible and resistant to UV rays.
- Silicone Sealants: Suitable for exterior applications, silicone sealants offer excellent weather resistance and flexibility.
Methods for Repairing Concrete Cracks
There are several methods for repairing concrete cracks, each suited to different types and severities of cracks.
Epoxy Injection
Epoxy injection is a common method for repairing structural cracks. It involves injecting epoxy resin into the crack to bond the concrete and restore its strength.
- Preparation: Clean the crack thoroughly and remove any loose debris. Seal the surface of the crack with an epoxy paste to prevent leakage.
- Drilling Injection Ports: Drill small holes along the length of the crack and insert injection ports. These ports allow the epoxy resin to be injected into the crack.
- Injecting Epoxy: Use a two-part epoxy injection system to inject the resin into the crack. Start from the lowest port and work your way up, ensuring the resin fills the entire crack.
- Curing: Allow the epoxy to cure according to the manufacturer’s instructions. Once cured, remove the injection ports and grind down any excess epoxy.
Polyurethane Foam Injection
Polyurethane foam injection is used for non-structural cracks and provides excellent flexibility and waterproofing.
- Preparation: Clean the crack and remove any loose debris. Seal the surface of the crack with a polyurethane sealant.
- Drilling Injection Ports: Drill small holes along the crack and insert injection ports.
- Injecting Foam: Inject the polyurethane foam into the crack using a specialized injection system. The foam will expand to fill the crack and provide a flexible seal.
- Curing: Allow the foam to cure according to the manufacturer’s instructions. Remove the injection ports and clean up any excess foam.
Routing and Sealing
Routing and sealing is a common method for repairing non-structural cracks in slabs and pavements.
- Preparation: Clean the crack and remove any loose debris. Use a chisel or a concrete saw to widen the crack to a uniform width and depth.
- Cleaning: Flush the crack with water to remove any remaining debris and allow it to dry.
- Applying Sealant: Fill the routed crack with a suitable sealant, such as an epoxy or polyurethane sealant. Use a caulking gun for even application.
- Finishing: Smooth the surface of the sealant with a putty knife or a similar tool. Allow the sealant to cure according to the manufacturer’s instructions.
Stitching
Stitching involves placing steel bars or rods across the crack to hold the concrete together and prevent further movement.
- Preparation: Clean the crack and remove any loose debris. Drill holes on both sides of the crack at regular intervals.
- Placing Steel Bars: Insert steel bars or rods into the drilled holes, crossing the crack.
- Grouting: Fill the drilled holes and the crack with a suitable grout or epoxy resin to bond the steel bars to the concrete.
- Finishing: Smooth the surface and allow the grout or epoxy to cure.
Concrete Patching
Concrete patching is used for larger cracks and areas of damaged concrete.
- Preparation: Clean the crack and remove any loose debris. Use a chisel or a concrete saw to remove any damaged or loose concrete around the crack.
- Applying Bonding Agent: Apply a bonding agent to the crack and the surrounding area to ensure good adhesion of the patching material.
- Mixing Patching Material: Mix the patching material according to the manufacturer’s instructions. Use a cement-based product for larger cracks.
- Applying Patch: Fill the crack with the patching material, using a trowel to ensure even application. Smooth the surface and feather the edges to blend with the surrounding concrete.
- Curing: Allow the patch to cure according to the manufacturer’s instructions. Protect the patched area from moisture and traffic during the curing process.
Preventing Future Concrete Cracks
Preventing future concrete cracks involves proper design, construction, and maintenance practices.
Proper Design and Construction
- Control Joints: Incorporate control joints into the concrete design to manage shrinkage and movement. These joints allow the concrete to crack in predetermined locations, reducing the risk of random cracking.
- Proper Reinforcement: Use appropriate reinforcement, such as steel rebar or wire mesh, to strengthen the concrete and distribute loads evenly.
- Adequate Compaction: Ensure proper compaction of the concrete mix to eliminate air pockets and achieve uniform density.
- Proper Curing: Follow proper curing techniques to maintain moisture in the concrete and minimize shrinkage. Use curing compounds, wet coverings, or curing blankets to retain moisture.
Maintenance Practices
- Regular Inspections: Perform regular inspections of concrete surfaces to identify and address cracks early.
- Sealing Joints: Seal expansion and control joints to prevent water and debris from entering and causing damage.
- Proper Drainage: Ensure proper drainage around concrete structures to prevent water accumulation and freeze-thaw damage.
- Avoid Overloading: Avoid applying excessive loads to concrete surfaces, which can cause cracking and structural damage.
- Protective Coatings: Apply protective coatings or sealers to concrete surfaces to enhance durability and resistance to moisture and chemicals.
Tools and Equipment for Concrete Crack Repair
Having the right tools and equipment is essential for effective concrete crack repair.
Essential Tools
- Wire Brush: For cleaning cracks and removing debris.
- Chisel and Hammer: For widening cracks and removing loose concrete.
- Concrete Saw: For routing cracks and creating uniform widths.
- Crack Gauge: For measuring crack width and monitoring movement.
- Caulking Gun: For applying sealants and adhesives.
- Injection Ports: For epoxy or polyurethane injection.
- Drill and Bits: For creating holes for injection ports or stitching.
- Trowel: For applying patching materials and smoothing surfaces.
- Brush or Roller: For applying bonding agents and sealers.
- Safety Gear: Gloves, goggles, and dust masks for protection.
Specialized Equipment
- Epoxy Injection System: For injecting epoxy resin into cracks.
- Polyurethane Injection System: For injecting polyurethane foam into cracks.
- Crack Monitors: For monitoring crack movement over time.
- Concrete Mixer: For mixing patching materials and grout.
Case Studies and Examples
Examining real-world examples of concrete crack repair can provide valuable insights and practical knowledge.
Residential Driveway Repair
A homeowner noticed several cracks in their concrete driveway, likely caused by settlement and temperature changes. After assessing the cracks, they decided to use a combination of routing and sealing for smaller cracks and concrete patching for larger cracks.
- Routing and Sealing: The homeowner used a concrete saw to widen the smaller cracks and filled them with a polyurethane sealant, ensuring a smooth finish.
- Concrete Patching: For larger cracks, they removed any loose concrete, applied a bonding agent, and filled the cracks with a cement-based patching material. The surface was smoothed and allowed to cure.
Commercial Parking Lot Repair
A commercial property manager observed extensive cracking in the parking lot, caused by heavy traffic and poor drainage. They opted for a professional repair service that used epoxy injection for structural cracks and stitching for larger, active cracks.
- Epoxy Injection: The repair team cleaned the cracks, drilled injection ports, and injected epoxy resin to restore the concrete’s strength.
- Stitching: For larger cracks, they drilled holes and inserted steel rods across the cracks, grouted the holes, and smoothed the surface.
Environmental Considerations
Concrete repair practices should consider environmental impacts and sustainability.
Sustainable Materials
- Eco-Friendly Sealants: Use environmentally friendly sealants and adhesives that are low in volatile organic compounds (VOCs).
- Recycled Materials: Incorporate recycled aggregates and materials into concrete repairs to reduce waste.
Waste Management
- Proper Disposal: Dispose of waste materials, such as old concrete and debris, in accordance with local regulations.
- Recycling: Recycle removed concrete and other materials whenever possible.
Conclusion
Repairing cracks in concrete is a crucial aspect of maintaining the integrity and longevity of concrete structures. By understanding the types and causes of cracks, selecting appropriate repair methods and materials, and following best practices for preparation and maintenance, you can effectively address concrete cracks and prevent future occurrences. This comprehensive guide aims to equip you with the knowledge and tools needed to successfully repair concrete cracks and ensure the durability and safety of your concrete surfaces.
Additional Resources
For further information and guidance on concrete crack repair, consider consulting the following resources:
- American Concrete Institute (ACI): Provides standards and guidelines for concrete repair and maintenance.
- Portland Cement Association (PCA): Offers resources on concrete materials, design, and construction practices.
- International Concrete Repair Institute (ICRI): Provides technical resources and certifications for concrete repair professionals.
- Local Building Codes and Regulations: Ensure compliance with local codes and regulations for concrete repair and construction.